Using a Beagleboard X15 as a home file server
Last Update: November 27rd, 2021
Introduction
I watch a lot of online video content. I pull down talks from technical conferences on a regular basis, and generally download any YouTube videos I want to watch (I really dislike the YouTube website). I used to carry everything around on a portable USB-attached hard drive but having something hanging off my computers just to watch a video is a pain, and I've had a couple of close calls of nearly breaking USB ports.Redownloading videos on different systems is a waste of time, and has the secondary problem of trying to keep everything in sync between systems. Admittedly this is a pretty small problem all things considered, but I had some spare parts laying around and decided to build a home Network Attached Storage (NAS) server. I figured it would be a neat weekend project, but it snowballed (as projects always do).
Prototype
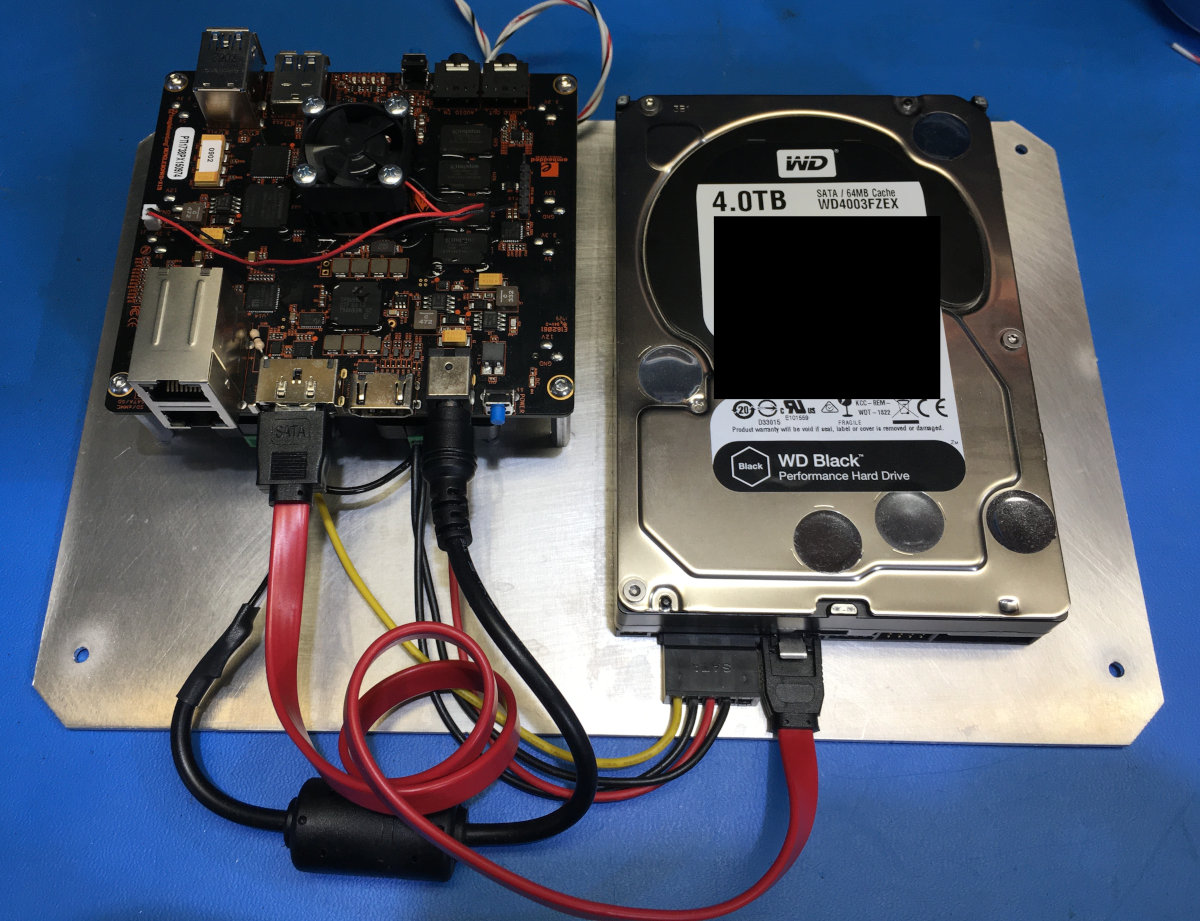
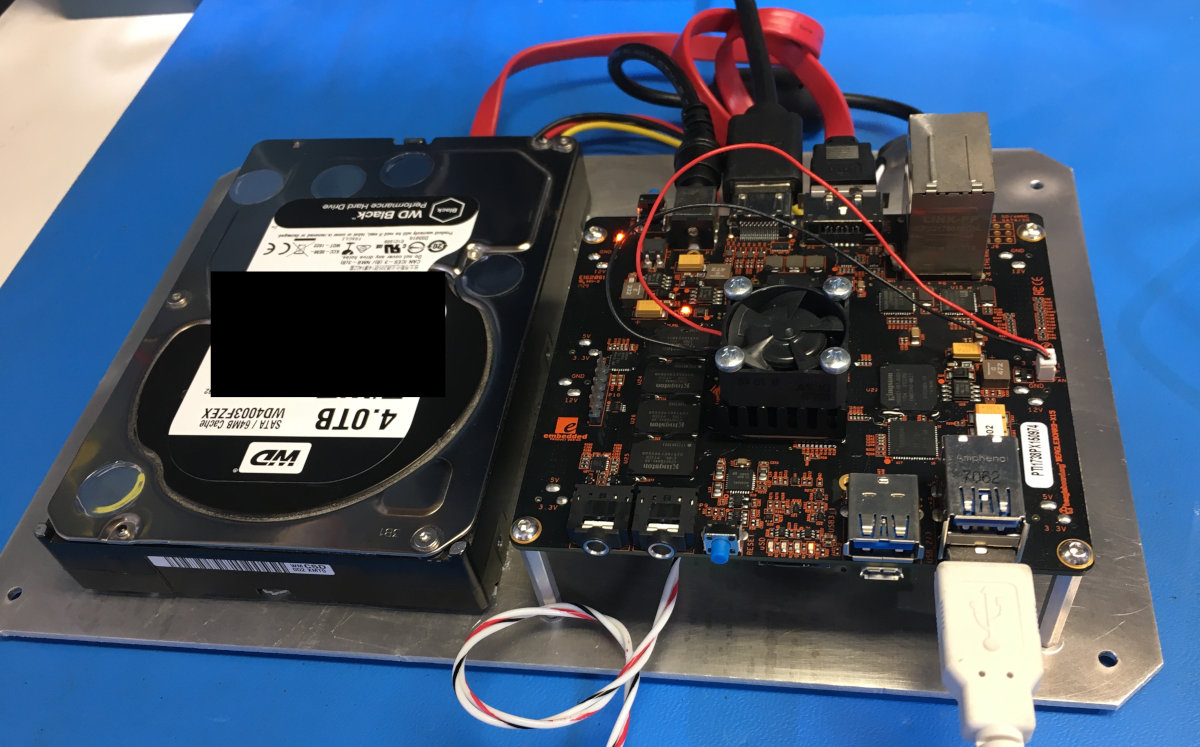
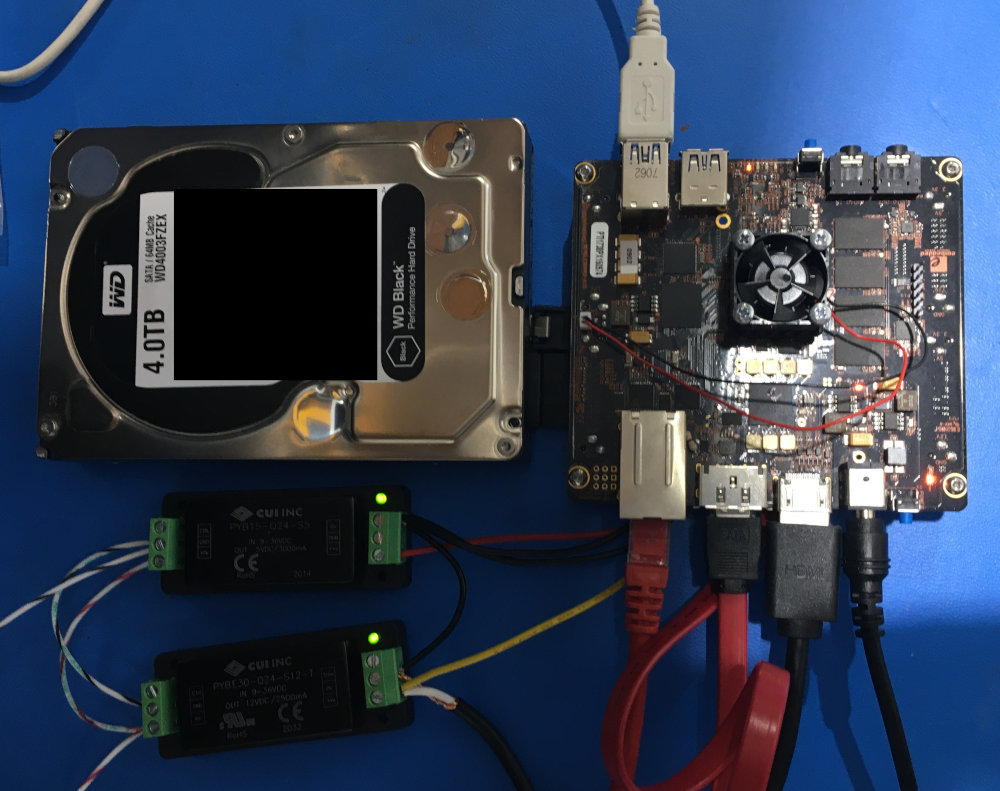
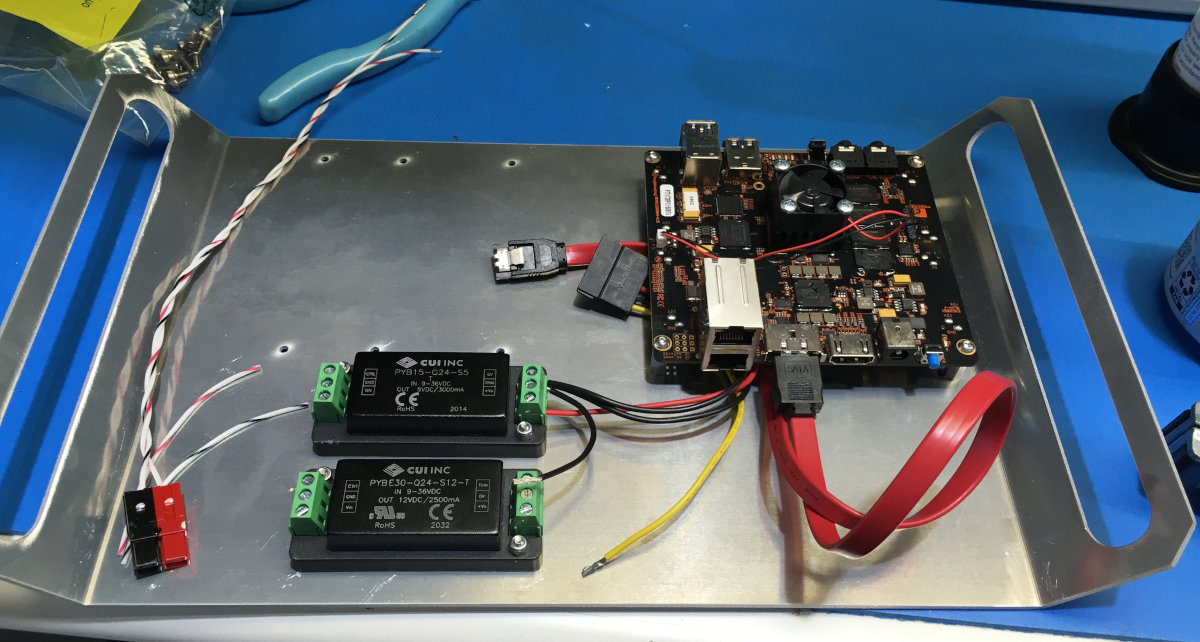
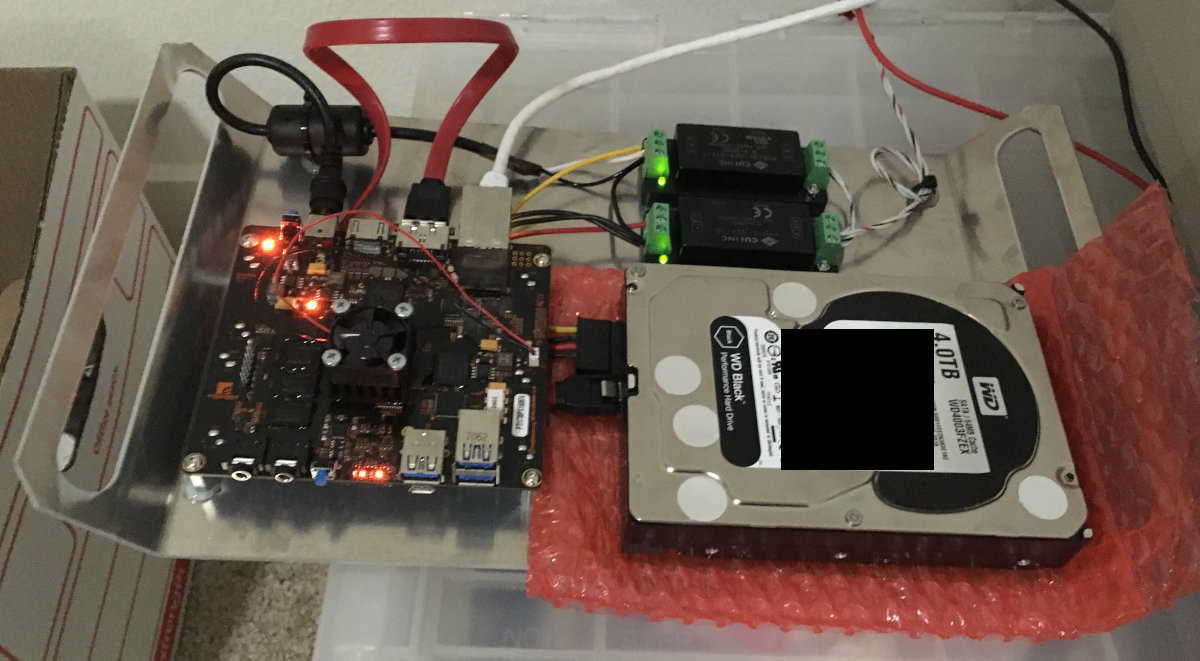
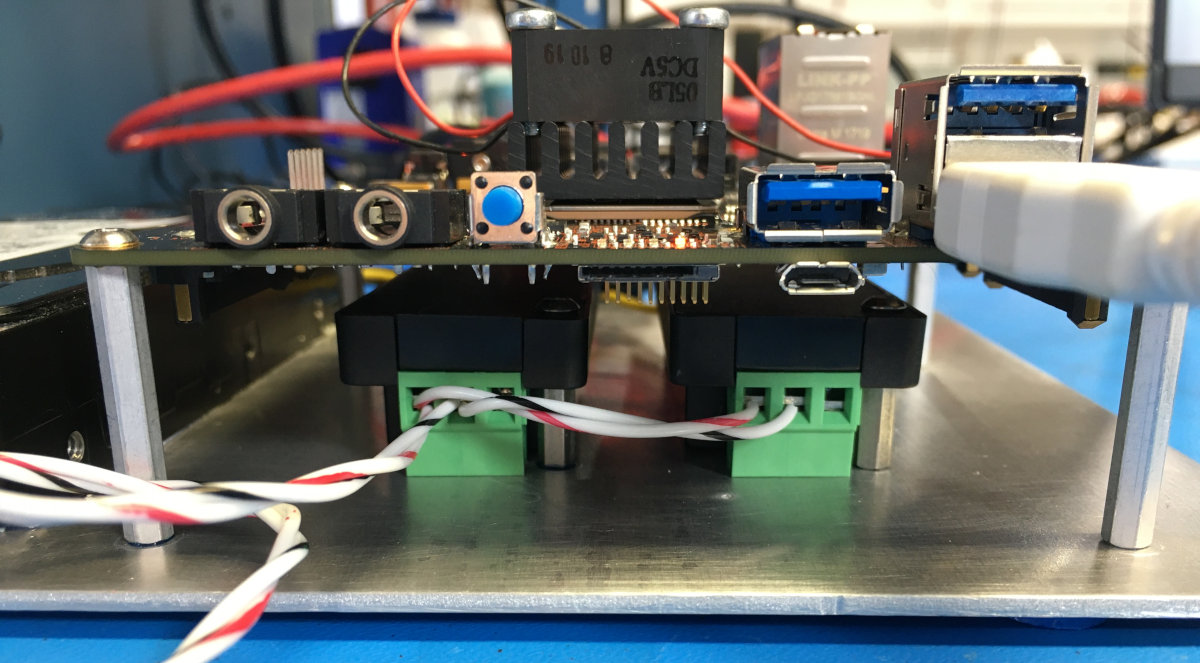
It's hard to get cheaper than free, so I grabbed an old drive (Western Digital 4 TB WD4003FZEX) and some DC DC converters and cobbled together a rig on the test bench:
Check out that lighting. I R XPERT FOTOE-GRAFER
The spec calls out five amps, but this is almost all for the USB 3.0 ports with their default power requirements.
The base board with nothing attached takes way lower than that - I don't have the number immediately on hand, sadly, but 2500 mA easily covers the X15 and the attached drive (12 V at 630 mA and 5 V at 520 mA according to the label). The 5 V DC DC converter is just there for the drive. The X15 has on-board 5 V rail, but I didn't trust it to handle a full size mechanical drive. Maybe a 2.5" SSD?
Software setup is straight-forward: The Beagleboard foundation provides a minimal install that fits inside the on-board eMMC and the mech drive showed up as
sda, as one would expect.
To make things simple, I decided to put /home on the external drive. No need to cd anywhere when one logs in, just start calling wget or whatever.
Here are my raw notes from the process:
	Put a partition on it:
		sudo fdisk /dev/sda
			g - Create GPT partition table
			F - list unpartitioned space
			n - new partition, part# 1, use defaults (max size)
			w - write to disk and exit

	Create a file system on the partition:
		sudo mkfs -t ext4 /dev/sda1

	Mount the disk (temporarily) and copy over existing home directories to it:
		sudo mount /dev/sda1 /mnt
		cd /mnt
		sudo rm -rf *		<--- CAREFUL
		sudo cp -rp /home/* /mnt

	Move it over:
		sudo umount /dev/sda1
		sudo mount /dev/sda1 /home/

	Edit fstab to make it perm:
		sudo cp /etc/fstab /etc/fstab.backup
		sudo nano /etc/fstab
	Will need to add something like
		/dev/sda1	/home	ext4	defaults	0	0
	To the bottom of the fstab file.

	Reboot, and df -h to see if it worked!
And the end result:
debian@beaglebone:~$ lsblk
NAME         MAJ:MIN RM  SIZE RO TYPE MOUNTPOINT
sda            8:0    0  3.7T  0 disk
└─sda1         8:1    0  3.7T  0 part /home
mmcblk1      179:0    0  3.5G  0 disk
└─mmcblk1p1  179:1    0  3.5G  0 part /
mmcblk1boot0 179:8    0    2M  1 disk
mmcblk1boot1 179:16   0    2M  1 disk
debian@beaglebone:~$ df -h
Filesystem      Size  Used Avail Use% Mounted on
udev            705M     0  705M   0% /dev
tmpfs           160M   18M  143M  11% /run
/dev/mmcblk1p1  3.5G  2.4G  924M  72% /
tmpfs           797M     0  797M   0% /dev/shm
tmpfs           5.0M  4.0K  5.0M   1% /run/lock
tmpfs           797M     0  797M   0% /sys/fs/cgroup
/dev/sda1       3.6T  1.5T  2.0T  44% /home
tmpfs           160M     0  160M   0% /run/user/1000
I can only get a transfer rate of about 20 MB/s out of this setup, even with a direct Ethernet cable link - far less than the ~120 MB/s one would expect from a Gigabit port.
The WD WD4003FZEX is rated for 6 Gb/s (SATA III), and the the SATA PHY interface on the TI AM5728 Sitara "is compliant with the SATA standard v2.6" with a listed maximum data rate of 3 Gb/s. I suspect there is some arcane Linux configuration step I need to do, probably involving DMA channels on the under-powered Cortex-A15 processor, but honestly I haven't bothered: there is enough bandwidth for video playback over the network, and the file transfer speed is bottlenecked by the abysmal WiFi reception (neighborhood interference) in my house anyway.
Version 1: The Lunch Tray
While a pile of cables plus a board and drive humming away on a table wouldn't be out of place, I wanted to at least make it safe to carry around. I'm fortunate to have access to an industrial CNC abrasive water jet cutter. A coworker was running a bunch of parts that day and very kindly blasted out a couple of plates I drew up, and even put them in the shop brake.
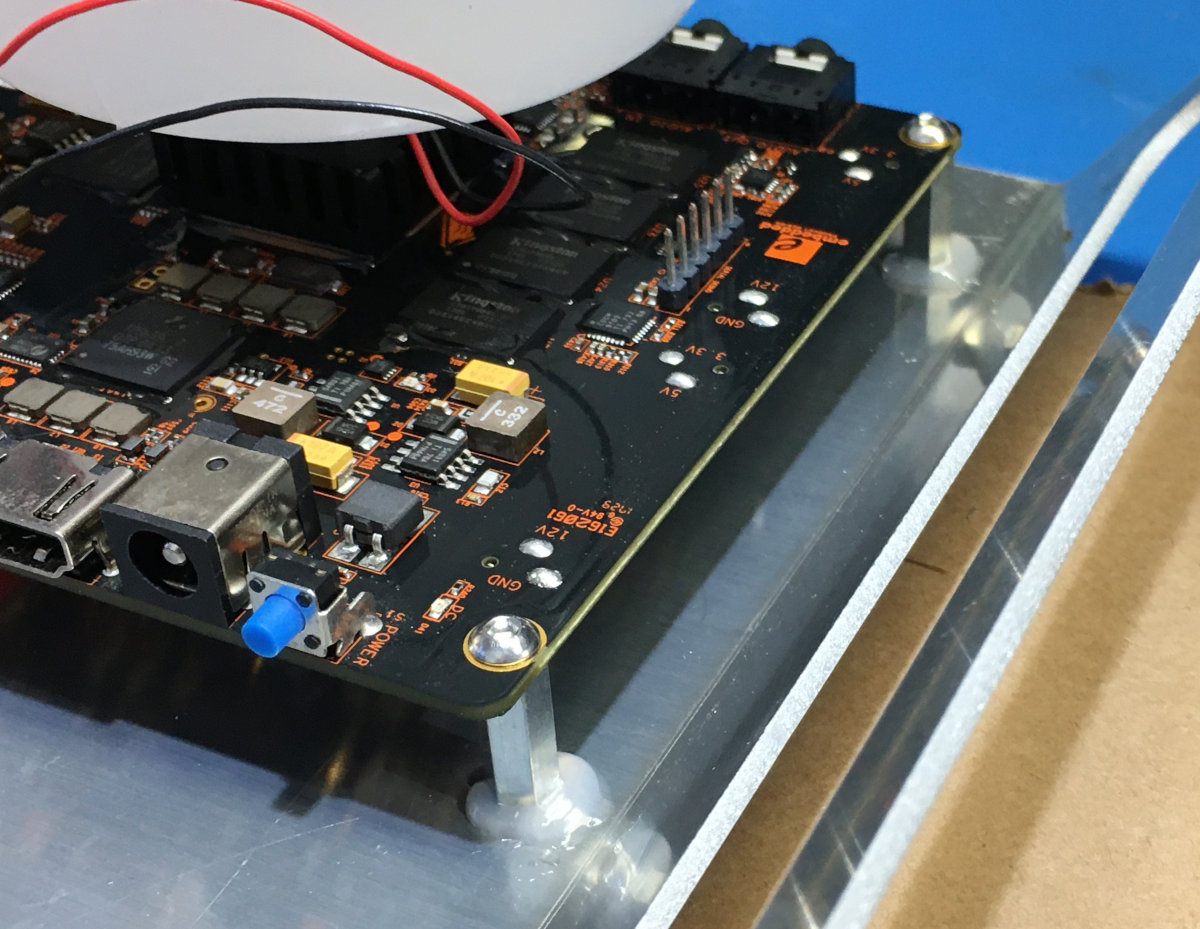
The epoxy didn't adhere to the aluminum and that side of the X15 was flapping in the breeze for the rest of the project. While the dispenser was out I slapped down a couple of Click Bond tie-downs for future cable management.

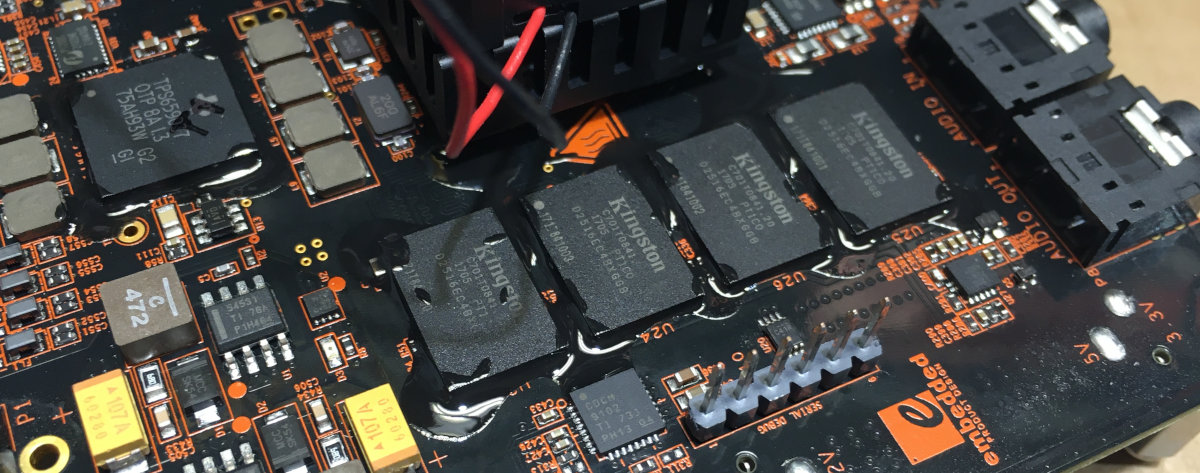
Electronic components using Ball Grid Array (BGA) packaging are generally frowned upon in aerospace, at least where I work. The joints connected by those tiny little balls of solder are prone to cracking when exposed to vibrations, or are simply not mechanically connected - they're touching, but any vibration or thermal expansion would break the circuit. To counter this, when we have to use BGA parts, is to use something call 'underfill': basically, a very runny epoxy (with very specific thermal expansion characteristics) that one runs around the package in question, and wicks under the chip and around the solder balls, holding the package to the board. I used Henkel (aka LOCTITE) 2025841 (aka Kona 870FT-LV-DP) as the underfill. No idea if that is fully appropriate, but it's an electronics potting epoxy we use at work - if we embed entire assemblies in it, it should be fine for minor underfill applications:
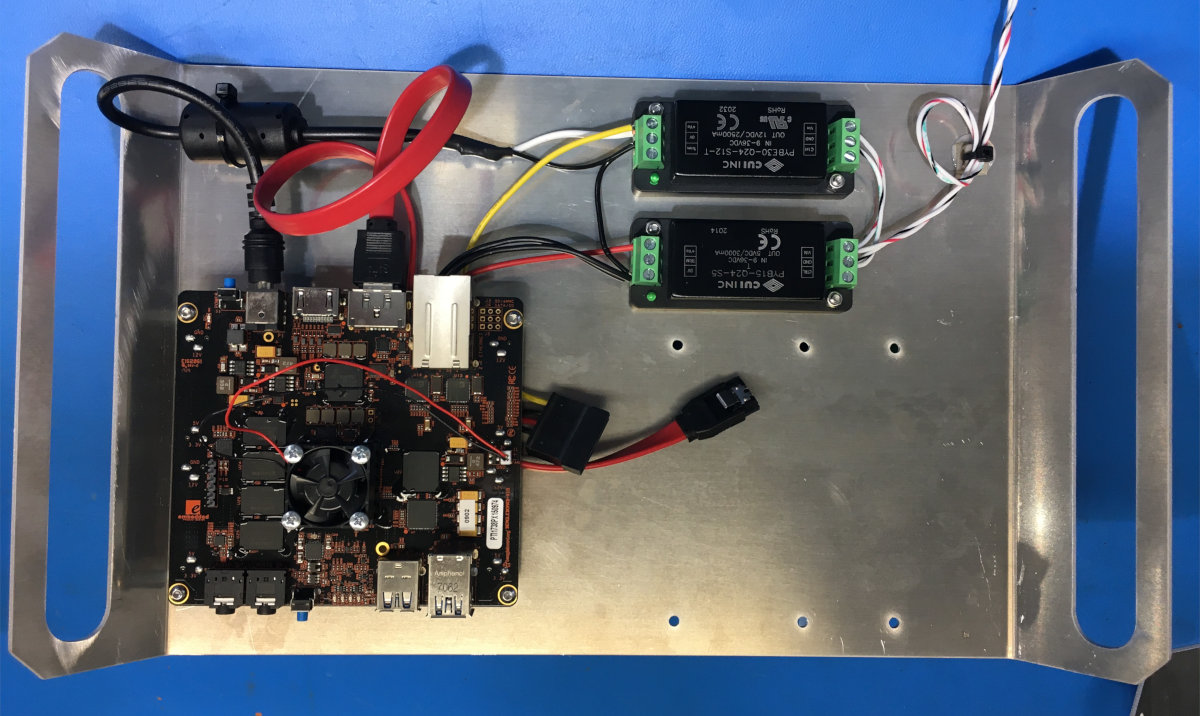
Version 2: The Stack
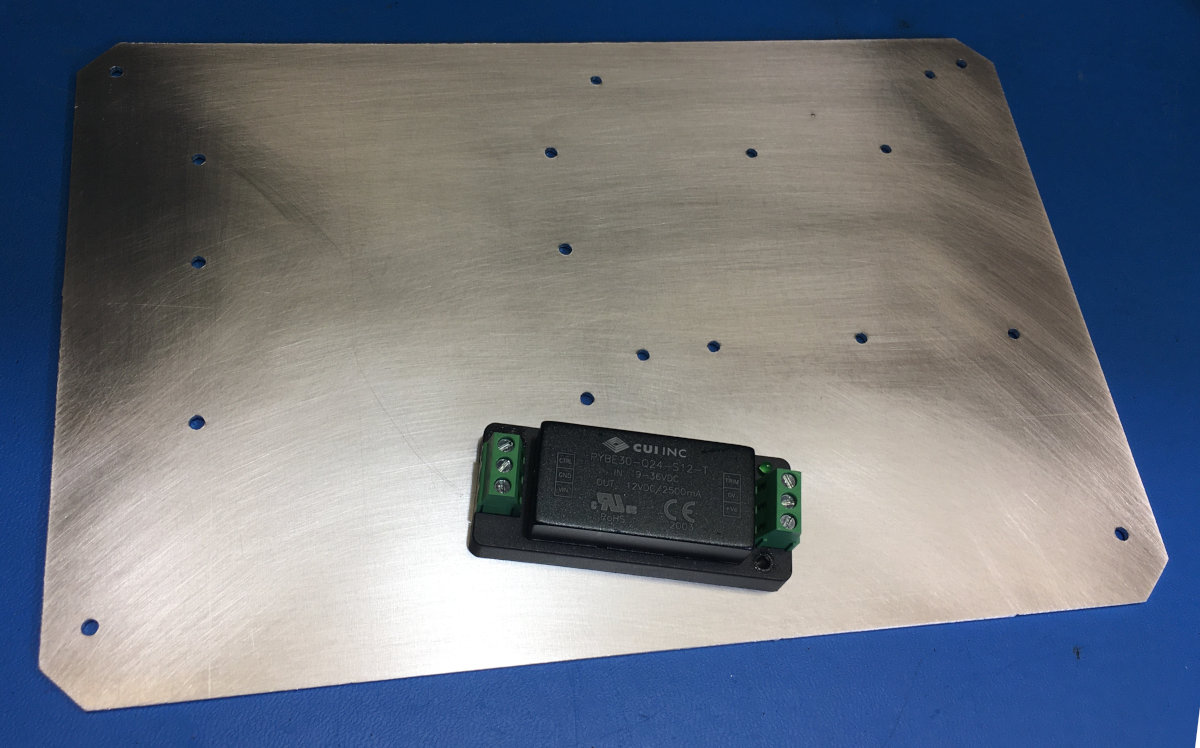
new plate, who dis
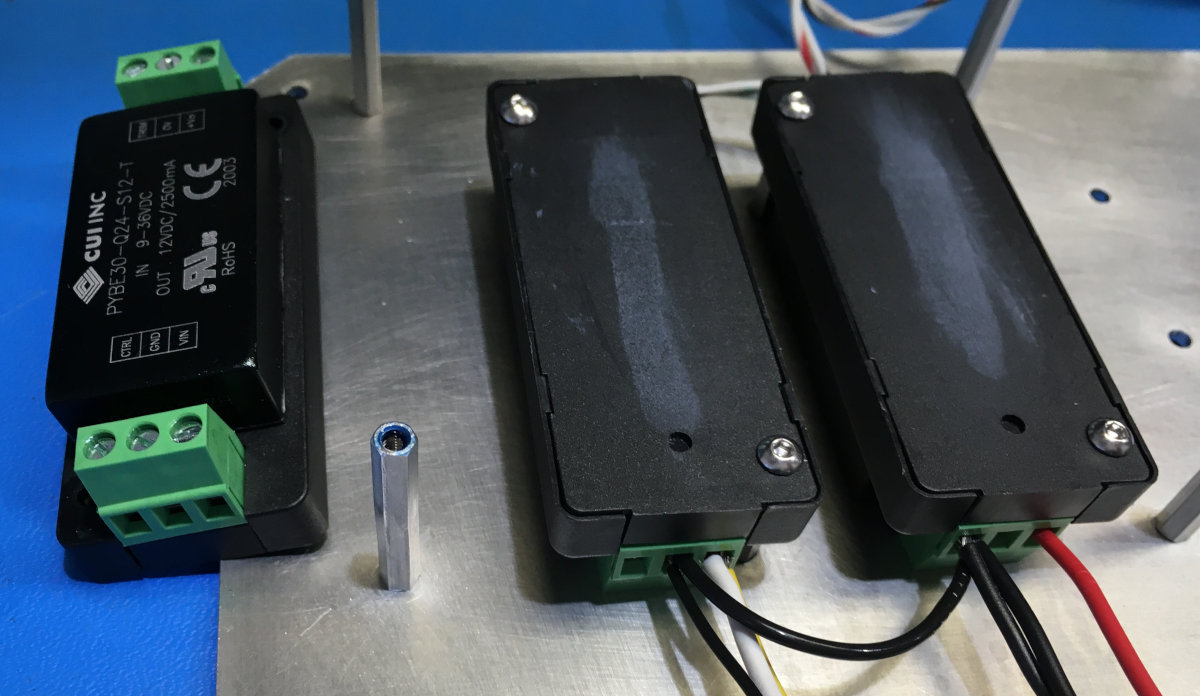
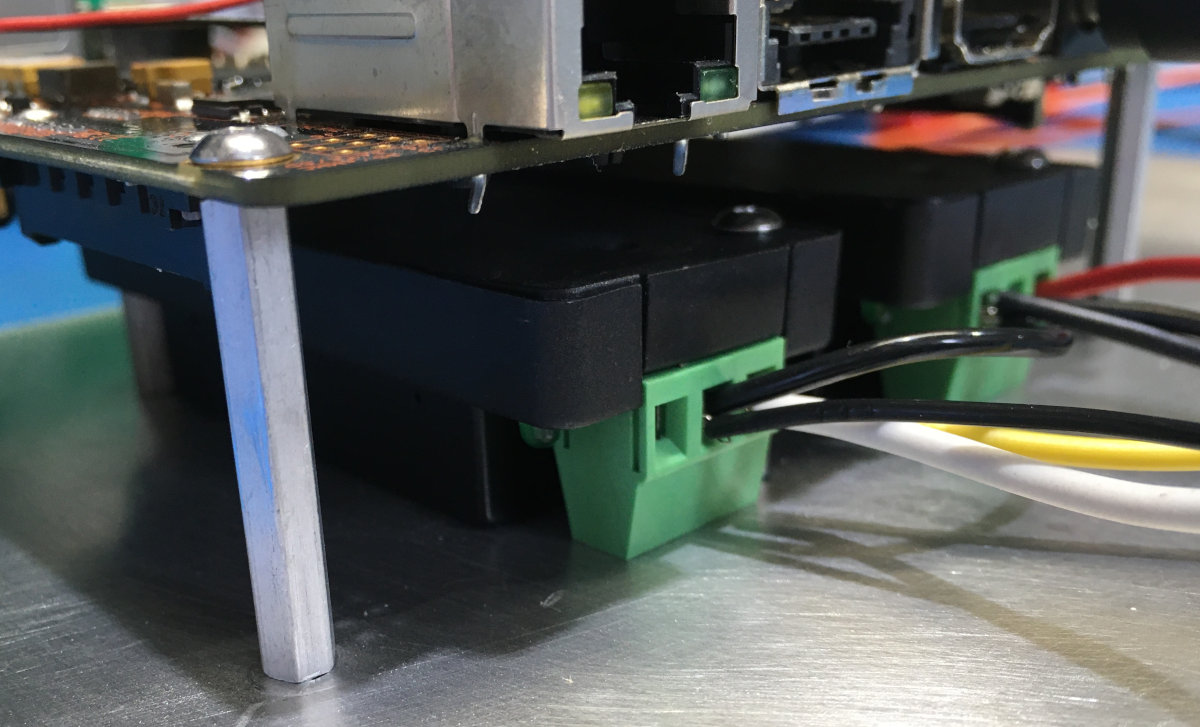
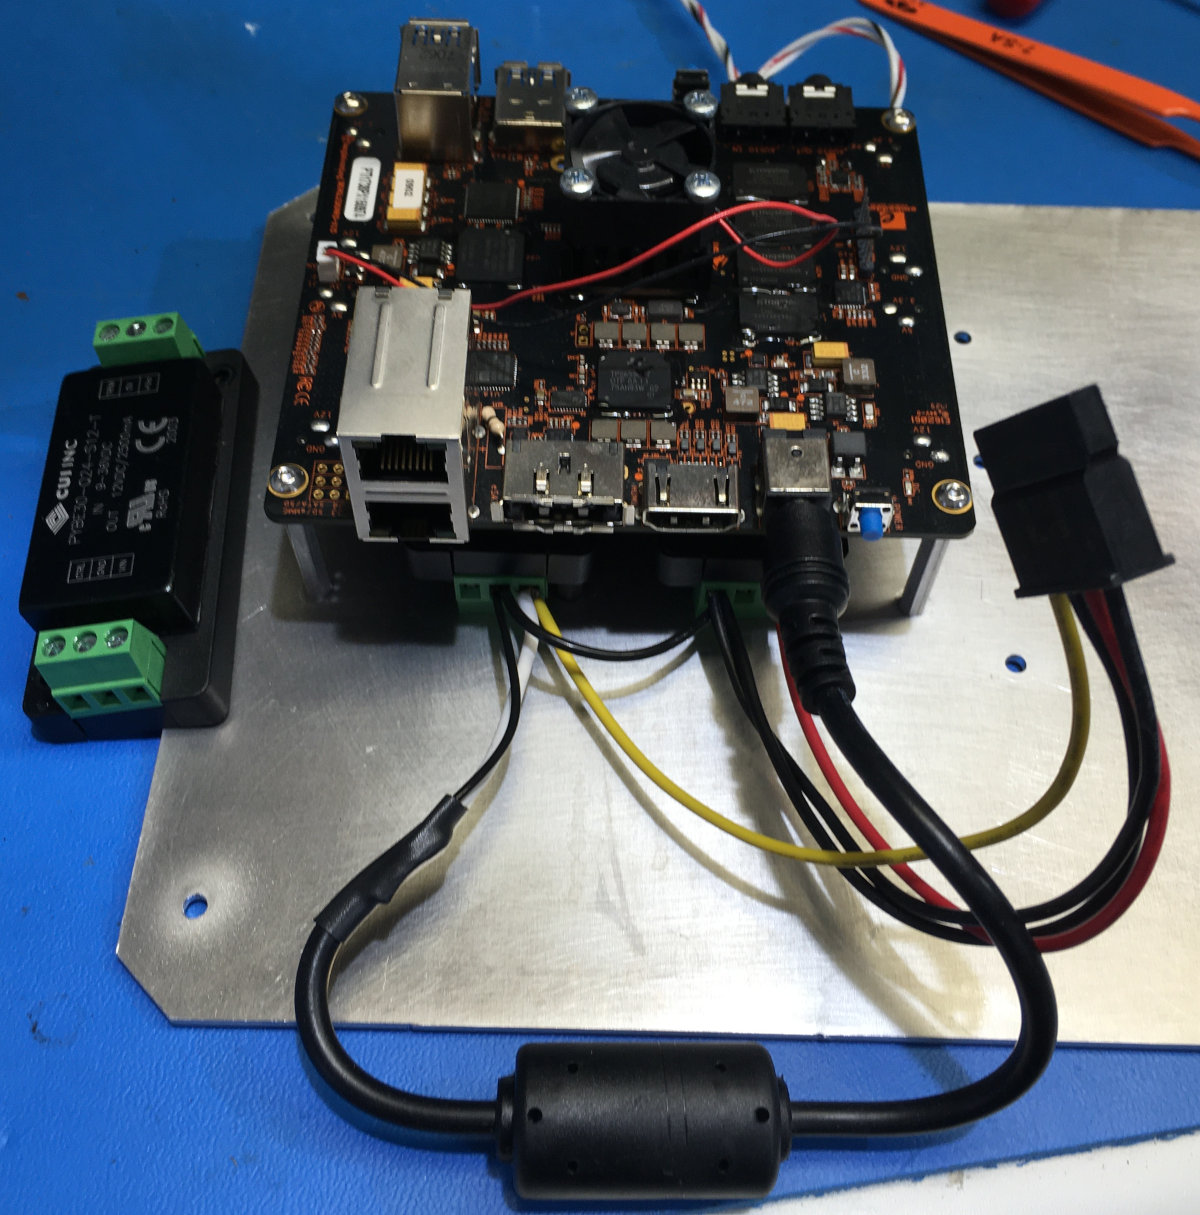
Non-conductive and reasonable thermal transfer to the plate.
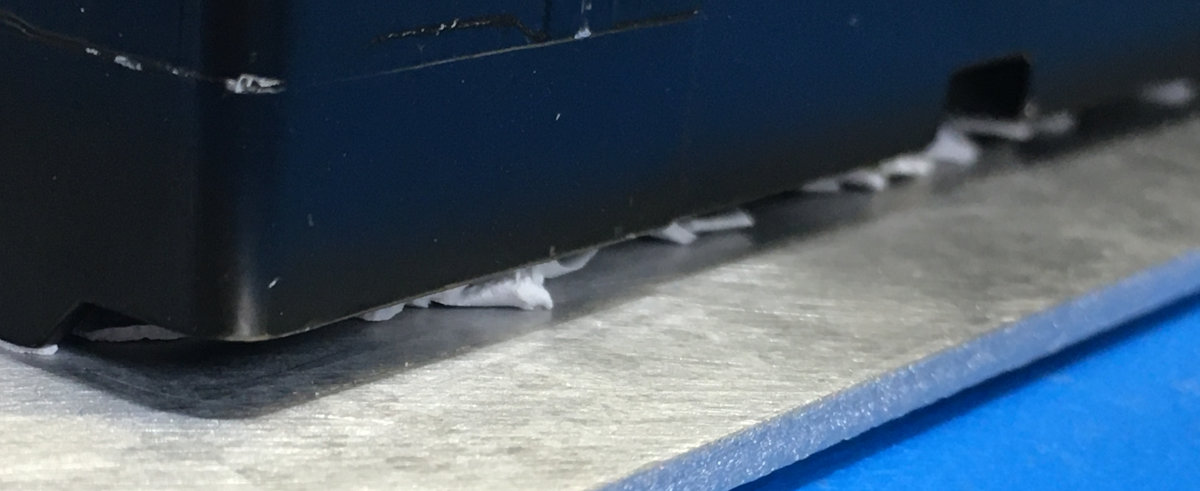
Above: My unsuccessful attempt to cleanly trim the pad.
There is enough to protect the drive connectors but I wasn't going to waste aluminum to cover the entire wire bundle.